I recently learned how to set up my own VPN server, and in this article I share those learnings.
The server I set up is an OpenVPN Access Server. All the resources are provisioned from Microsoft Azure’s Portal UI. I chose Azure to host these resources because it is the cloud platform I am most familiar with. My VPN server is for my personal use, not for commercial use.
Part 0. Why do I want my own VPN server?
Why use VPN?
A VPN is essentially a private tunnel between your machine and the various websites on the internet. It is good to have because it prevents your ISP from keeping track of your internet activities. That means, when you use a VPN at home/school/work/your favorite cafe, your internet provider/school/company/cafe can’t find out what are the websites you visit.
Why set up my own VPN server?
Because I don’t know which VPN service to trust. If you look for guides that compare VPN providers, like this one, you’ll see how different VPN providers have very different pros and cons. More importantly, I have no way to verify if they secretly log my activities or not — which would defeat the whole purpose* of using a VPN!
(*VPN has other usages such as accessing private network resources, but those are not my usage scenario and are not discussed here)
So I decided to setup my own VPN server: if I own the infrastructure, I would have full control over the behavior of that VPN service.
Part 1. Set up the OpenVPN Access Server
This section guides you to setup a functional VPN server running. At the end of this section, you should already be able to connect to your VPN server!
1.1 Provisioning the VM with OpenVPN Access Server software pre-installed in Azure Portal
In Azure Marketplace, there is an offering called “OpenVPN Access Server“. It provides a VM with OpenVPN Access Server software pre-installed, and a bunch of resources to support its running.
1.1.1. Create one of these in Azure Marketplace.
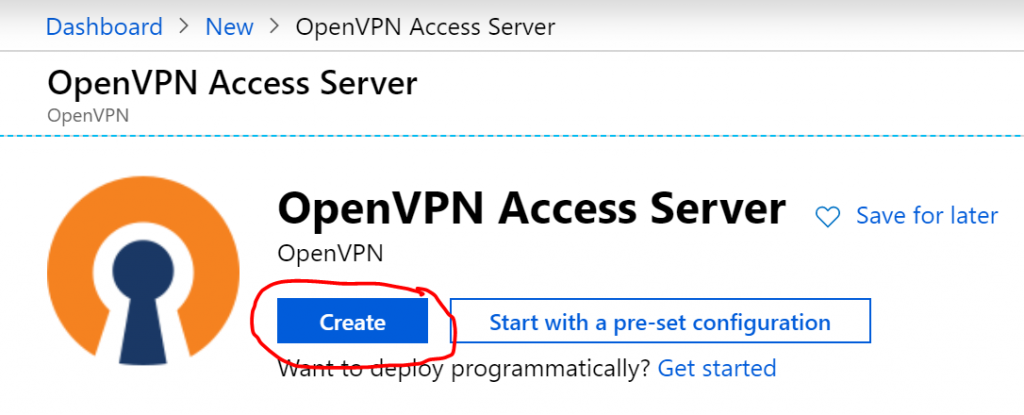
1.1.2. Configure the VM
I show the configuration I used, which should fit most of the use case if you are also setting up a VPN server for personal use on just a few devices.
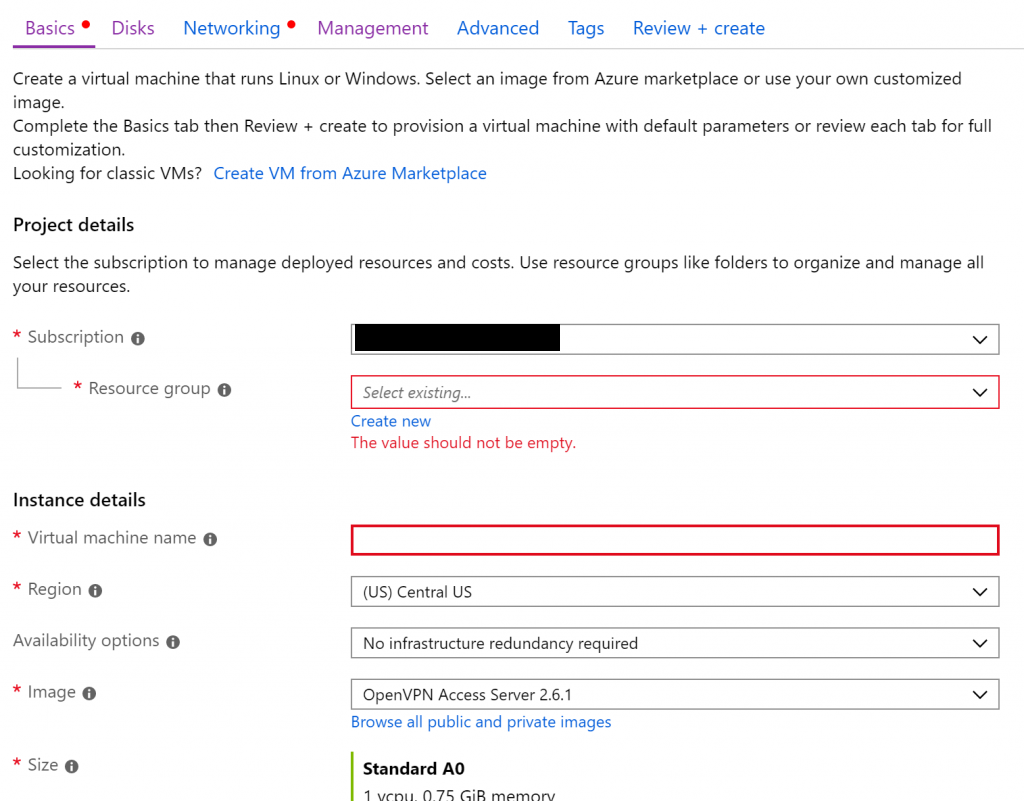
Subscription, Resource Group, VM name, Region: Select your desired value.
Image: select the default “OpenVPN Access Server”.
Size, username, password: select as you see fit.
OS Disk Type: Standard HDD. This is a requirement in OpenVPN’s documentation.
Virtual Network: follow the wizard to create your new virtual network.
Auto-shutdown: I selected “off” because my VPN server needs to be up 24/7.
The rest of the settings: You should be able to leave then as default.
1.2 Configuring the OpenVPN Access Server software on the VM
Once the VM is provisioned, note the public IP address of it from Azure Portal.

Now you can SSH into it with the username and password you chose in the previous step.
ssh YOUR_USER_NAME@YOUR_VM_PUBLIC_IP_ADDRESS
According to OpenVPN’s documentation, the OpenVPN Access Server Setup Wizard runs automatically upon your initial login to the appliance. But you can also manually trigger it with:
sudo ovpn-init
Now, the wizard will guide you through a list of questions to help you setup the server. Again, the following are the configuration I keyed in for personal use.
Agreement of the End User License Agreement: yes.
Will this be the primary Access Server node?: yes.
Please specify the network interface and IP address to be used by the Admin Web UI: leave as default.
Please specify the port number for the Admin Web UI: leave as default.
Please specify the TCP port number for the OpenVPN Daemon: leave as default.
Should client traffic be routed by default through the VPN?: yes, because I want all traffic to be protected by this VPN service.
Use local authentication via internal DB?: yes.
Should private subnets be accessible to clients by default?: doesn’t matter because client traffic is routed by default through the VPN.
Do you wish to login to the Admin UI as “openvpn”?: no, I specified my own username and password.
Please specify your OpenVPN-AS license key (or leave blank to specify later): I left it blank, which means my server will only support 2 connected devices at the same time.
1.3 Tying up a few loose ends
Now your VPN server is configured! But, just a few more steps before you can actually connect to it and start using the VPN service.
Microsoft Azure automatically uses an internal IP address for your VPN Access Server, so you need to login to OpenVPN Access Server’s Web Admin UI, and manually change hostname. Go to:
https://your_vm_public_ip_address/admin

And use the admin account and password you picked in the previous step to login. Now go to “Network Settings” to specify a Hostname. If you have a domain name that points to your VM, enter that domain name. Otherwise, enter the public IP address.

Now, back to your SSH session into the VM, change the machine’s timezone to your desired timezone.
sudo dpkg-reconfigure tzdata
Use arrow keys to pick your desired timezone.

Then you need to enable IP forwarding in your VM configuration. But note that this is not done in the VM itself, but rather, in the Network Interface instance that Azure created for you. You should find it in the same resource group as your VM.

Before exiting the Network Interface’s configuration window, go to Overview and notice the Private IP.

Now, as the last step, you need to create a new Azure resource, a Route Table, and put it into the same resource group. In the Route Table, add 2 routes. (if you are unsure how to do this, Azure has some docs about it)
Address Prefix: 172.27.224.0/20
Next hop type: Virtual appliance
Next hop address: The_Private_IP_address_of_the_Network_Interface
Address Prefix: 172.27.240.0/20
Next hop type: Virtual appliance
Next hop address: The_Private_IP_address_of_the_Network_Interface
That’s it — you now have a running VPN server you can connect to!
Part 2. Installing an SSL certificate on the VPN server
Why SSL certificate matters
There is a great amount of literature on the internet that talks about SSL certificates and what do they do, so I won’t repeat them. In my own words, I want an SSL cert on my VPN server because that is the only way I know I am actually connecting to my server. Without SSL certificate, attackers can setup their own machines to impersonate my server, which allows them to sniff, track or even intercept my internet traffic — once again, that defeats the purpose of using VPN.
Purchasing an SSL certificate from Azure Marketplace
Azure partners with GoDaddy to provide SSL certificates. Although branded as “Azure App Service SSL Certificate”, SSL certificates purchased through Azure Marketplace can be used by non-App Service Azure services, or non-Azure services.
To get started, create a new SSL certificate in Azure Marketplace.
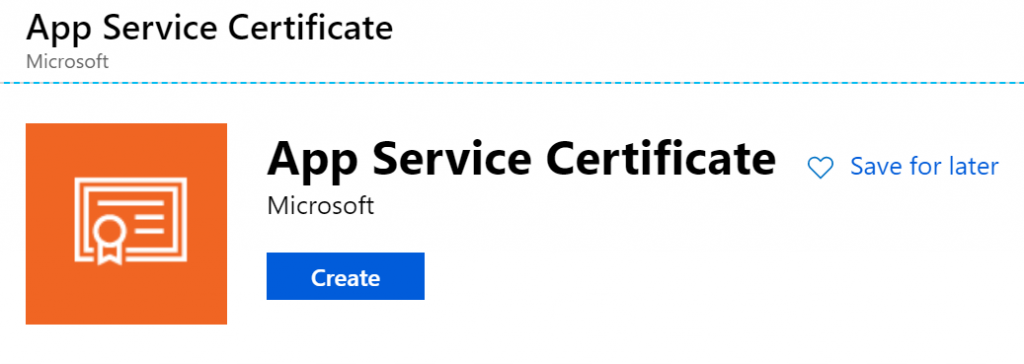
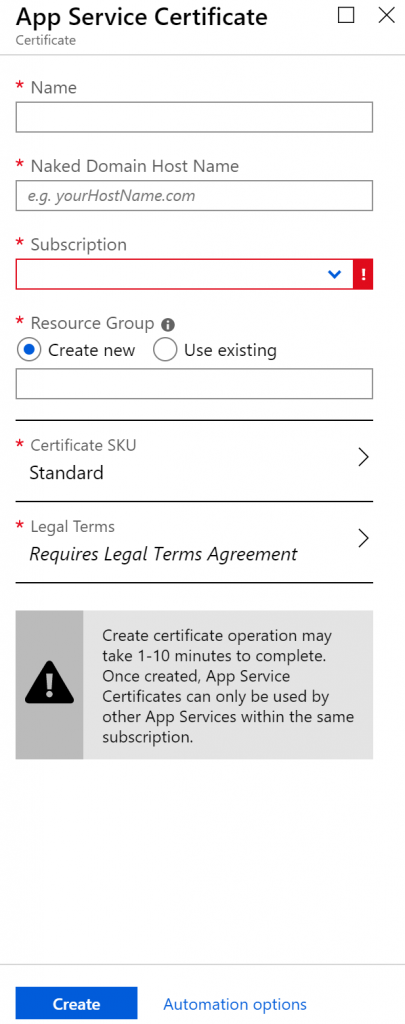
The subsequent configuration should be straightforward.
After a few minutes, your SSL certificate will be deployed, and there are 3 more steps to go.
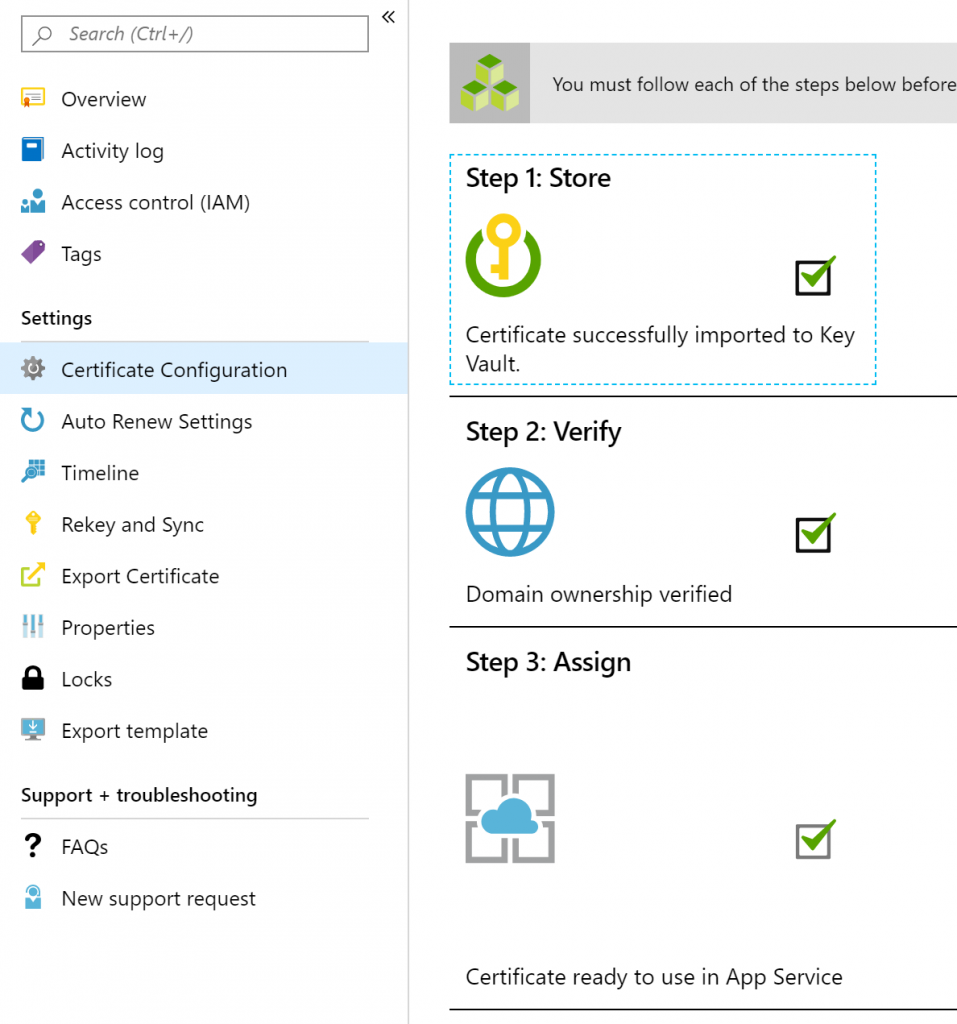
Store the cert in a Key Vault
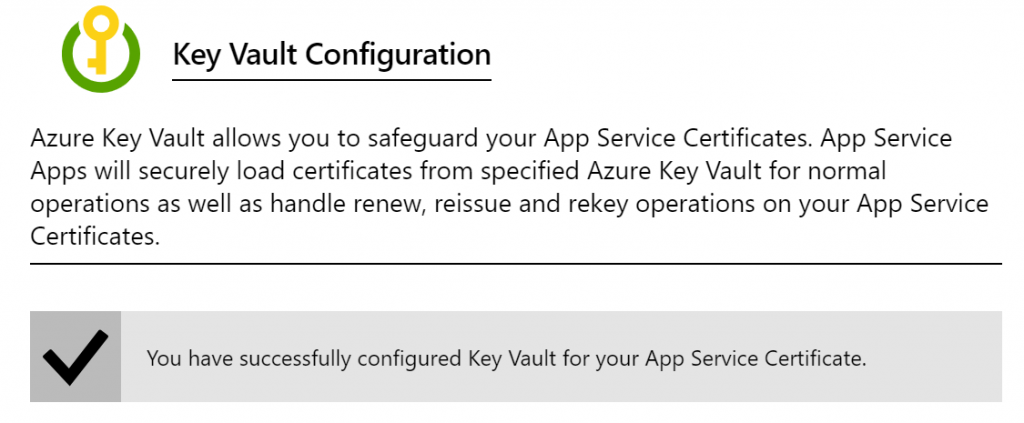
When you click on “Step 1: Store” for the first time, you will be prompted to create a new Azure Key Vault to securely store the SSL cert you just created. Follow the on-screen guidance to go through this straightforward process.
Once completed, you will see the following success message.
Verify domain ownership
When you created the SSL cert, Azure would have asked you what domain name you would like the SSL cert to be bound with. This is the domain name that you own and would like to point to your OpenVPN Access Server VM.
To complete this step, there are multiple ways. I used manual verification: adding a TXT record to the domain I used in the DNS record. Once completed, you will see the following success message.

Upload SSL cert file to OpenVPN Access Server
Now your SSL cert is ready to use, so let’s use it on your OpenVPN Access Server.
The tricky part about using Azure SSL is, Azure SSL is Microsoft IIS-compatible, but OpenVPN requires Apache-compatible certificate. This means you need to do some format conversion.
In Azure Portal, when you go to the Key Vault you created for the SSL cert, you can export the cert as a .pfx file — an IIS-compatible cert file.

But if you go login to the Web Admin UI of your VPN server, and go to “Web Server” configuration tab, you will see that you need 3 different files to validate an SSL certificate.
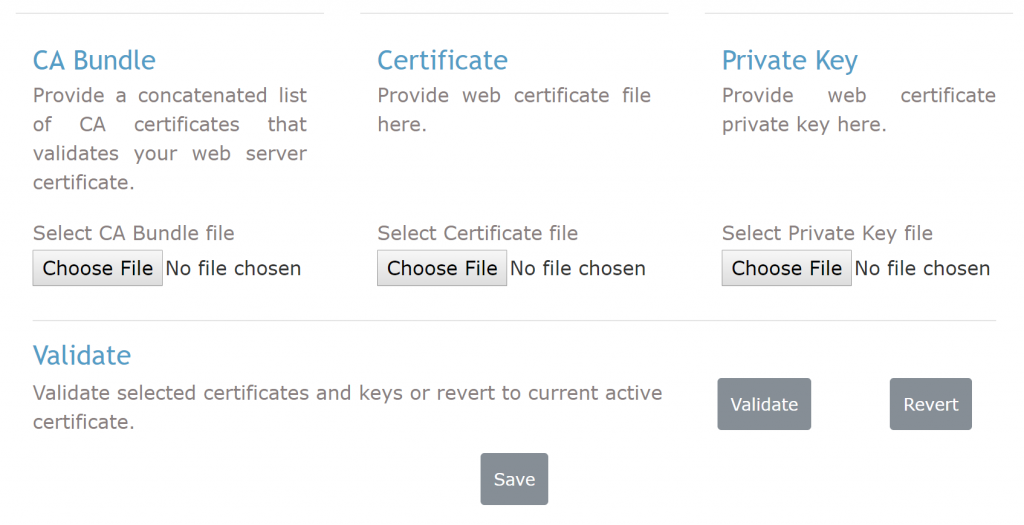
This means you need to use OpenSSL — or other tools of your choice — to extract these 3 files from the .pfx file you downloaded from Azure.
You VPN VM is a linux machine, so you can use it to run the following commands.
Extracting the CA Bundle file:
openssl pkcs12 -in NAME_OF_PFX_FILE.pfx -cacerts -nokeys -out ca_bundle.pem
(Enter import password: <empty string>)
Extracting the Certificate file:
openssl pkcs12 -in NAME_OF_PFX_FILE.pfx -nokeys -clcerts -out certificate.pem
(Enter import password: <empty string>)
Extracting the Private Key file (keep this one safe — this is your “password” to control your certificate):
openssl pkcs12 -in NAME_OF_PFX_FILE.pfx -nocerts -nodes -out private_key.pem
(Enter import password: <empty string>)
Then upload these 3 files to the corresponding places in the Web Admin UI, and click on “validate”. You should see the following success message on that Web Admin UI.

Now, click on “save” to save your changes.
You may need to re-start the VPN server to see the SSL cert working, by running these commands from the SSH session:
cd /usr/local/openvpn_as/scripts/
./sacli stop
./sacli start
That’s it! Now when you try to visit your VPN server, for example when you log into the Web Admin UI, you’ll see your connection is secure!

Part 3. Connecting to your VPN server
Congratulations, you now have a VPN server with a valid SSL certificate. You can securely connect to your own VPN server and privately browse the internet!
Create a user from the Web Admin UI’s User Management tab. Make sure you click open “more settings” to set a strong password for it.
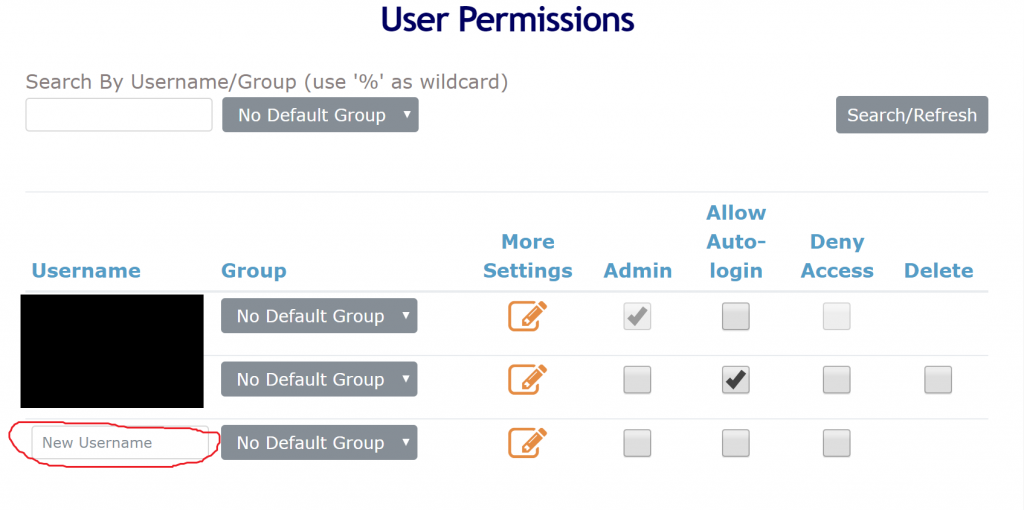
Now you can use your new username and password to login to
https://your_vm_public_ip_address/
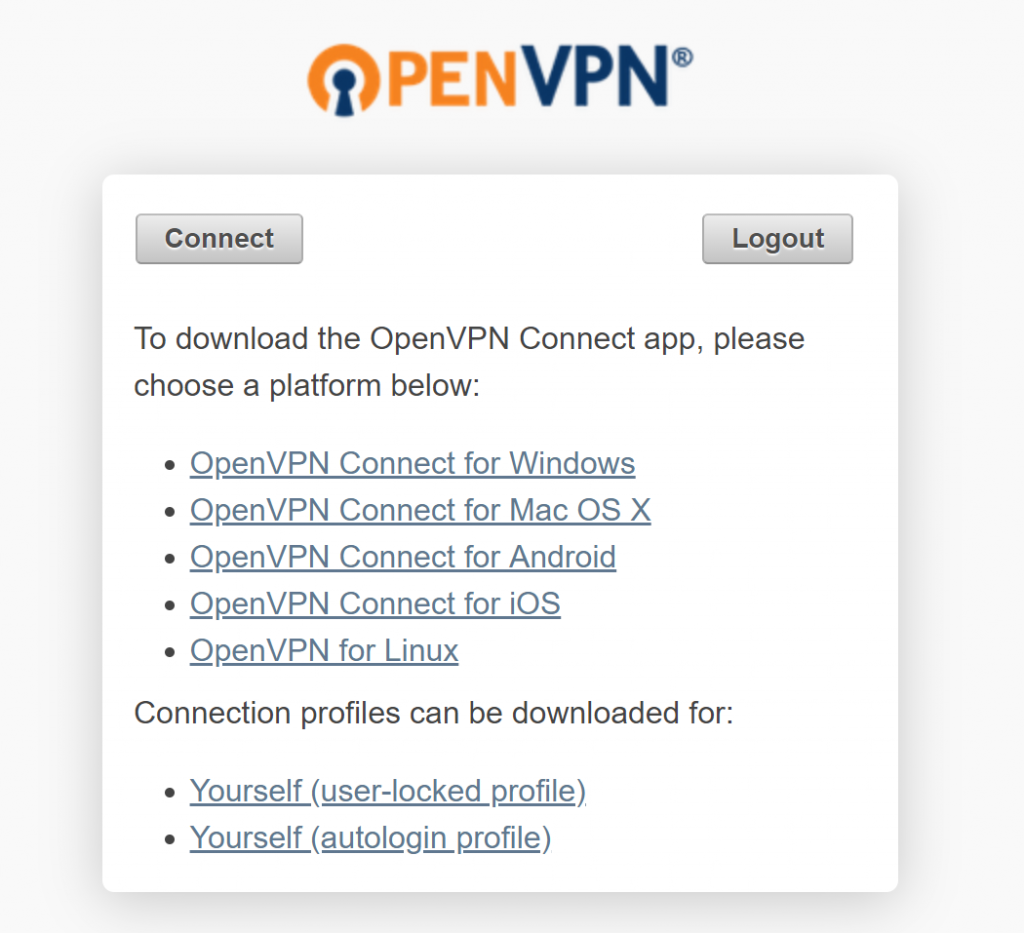
Once you are in, you can download the corresponding OpenVPN client or export login profiles.
Enjoy your own VPN server!
Nice guide, I’ve bookmarked it in my google bookmarks.